check this tutorial out :
Original Photo :

STEP 1 :
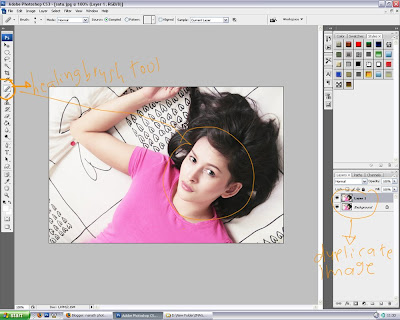
Duplicate your image
STEP 2 :
Select Healing Brush Tool, Alt+click on smooth area, then click over the area that you want to remove.
STEP 3 :
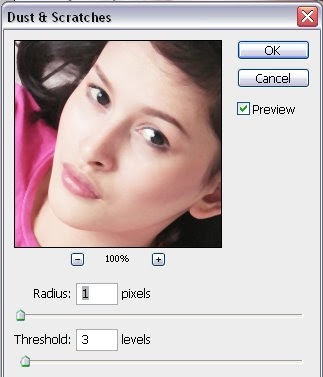
Select Filter>Noise>Dust and Scratches
STEP 4:
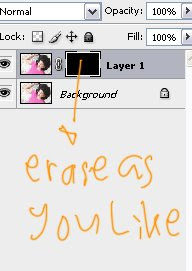
Add layer mask in duplicate layer (Layer 1), and invert it with Alt+I, you will see full black area in layer mask. Now, erase area you want to.
STEP 5 :
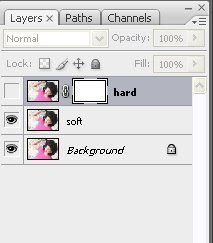
Flatten The Image, and duplicate it twice. see the image below, make sure you are in this position.
STEP 6 :
Let's work with soft layer first. Select Filter>Blur>Surface blur
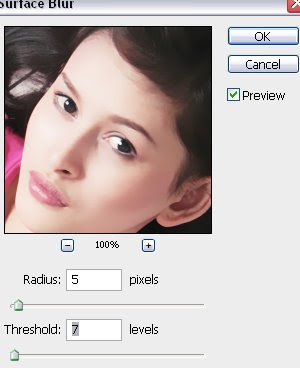
STEP 7:
Now, we work with hard layer. Please make the layer visible, then select the layer mask right beside the image layer. Then, please select Image>Apply Image.
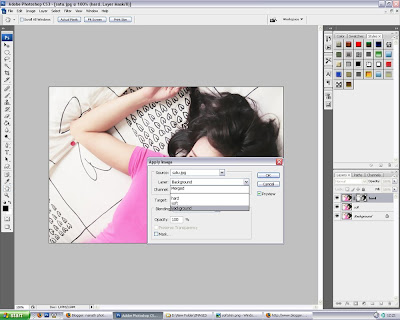
STEP 8 :
Now, select back the Image Layer (not the Layer Mask), then select Filter>Other>Highpass
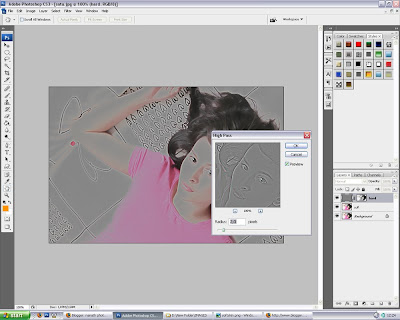
You can modify the radius, depend your image.. I usually modify it between 1,0-2,8
After this, change the blending image into Linear Light.
If you think it's too sharp, you can change the fill and opacity as you like.
STEP 9 :
Now, use ALT+G for create a group and drag the SOFT and HARD into it. Add a layer mask in group
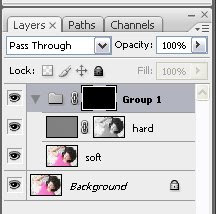
STEP 10 :
now, please remove in layer mask (group) the area you want to make it soft.
This is the result.

The skin in softer now.
Love, nanath

